
Why grout cracks in the first place
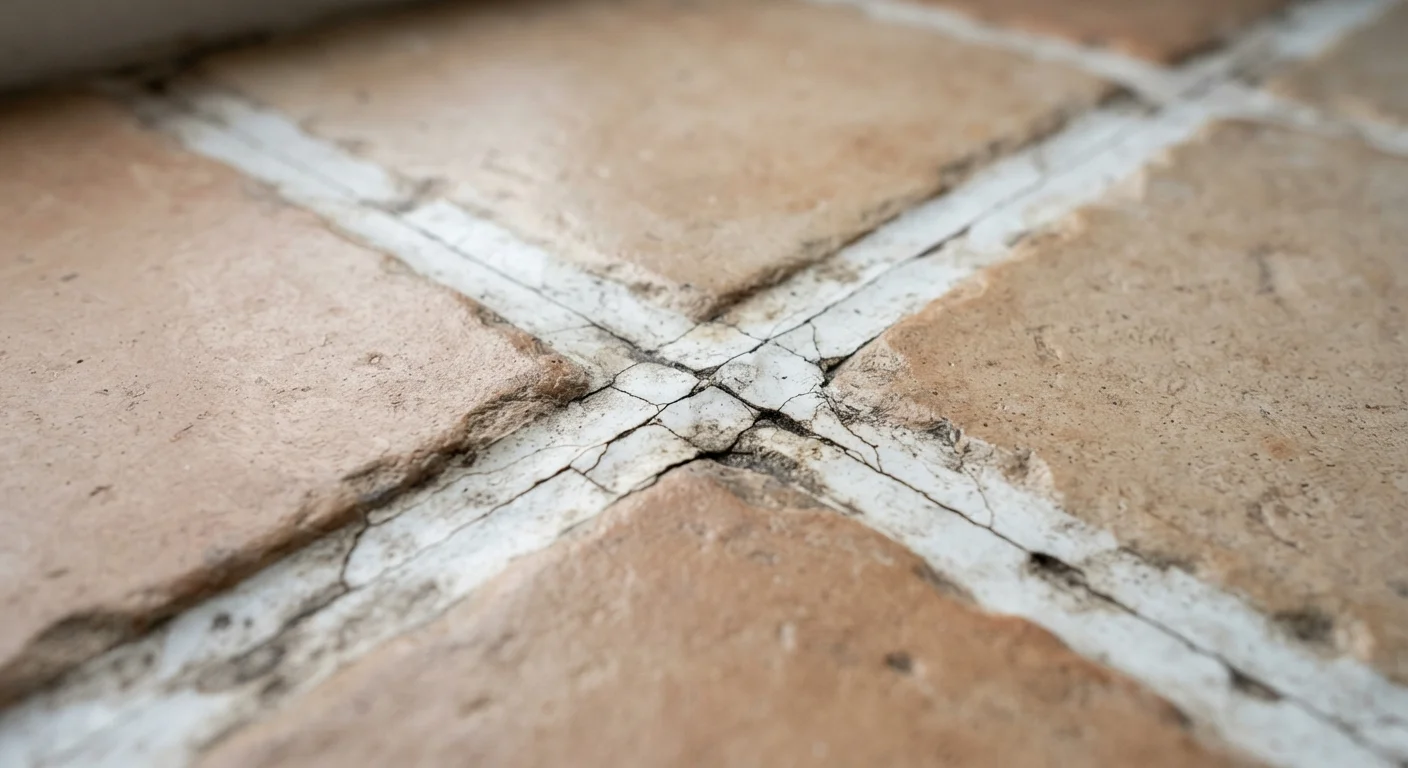
Grout is rigid. Floors, walls, and the substrates beneath them are not perfectly static. Temperature changes cause materials to expand and contract. Buildings settle. Foot traffic flexes subfloors. When the movement in those layers exceeds what the grout can absorb, the grout cracks. That sequence is normal physics, not a flaw in the material itself.
The problem arises when installation choices make cracking far more likely than it needs to be. Grout failures that repeat after repair almost always trace back to one of a handful of mistakes made before or during installation. Understanding those mistakes is the only way to fix the issue permanently rather than patching it every season.
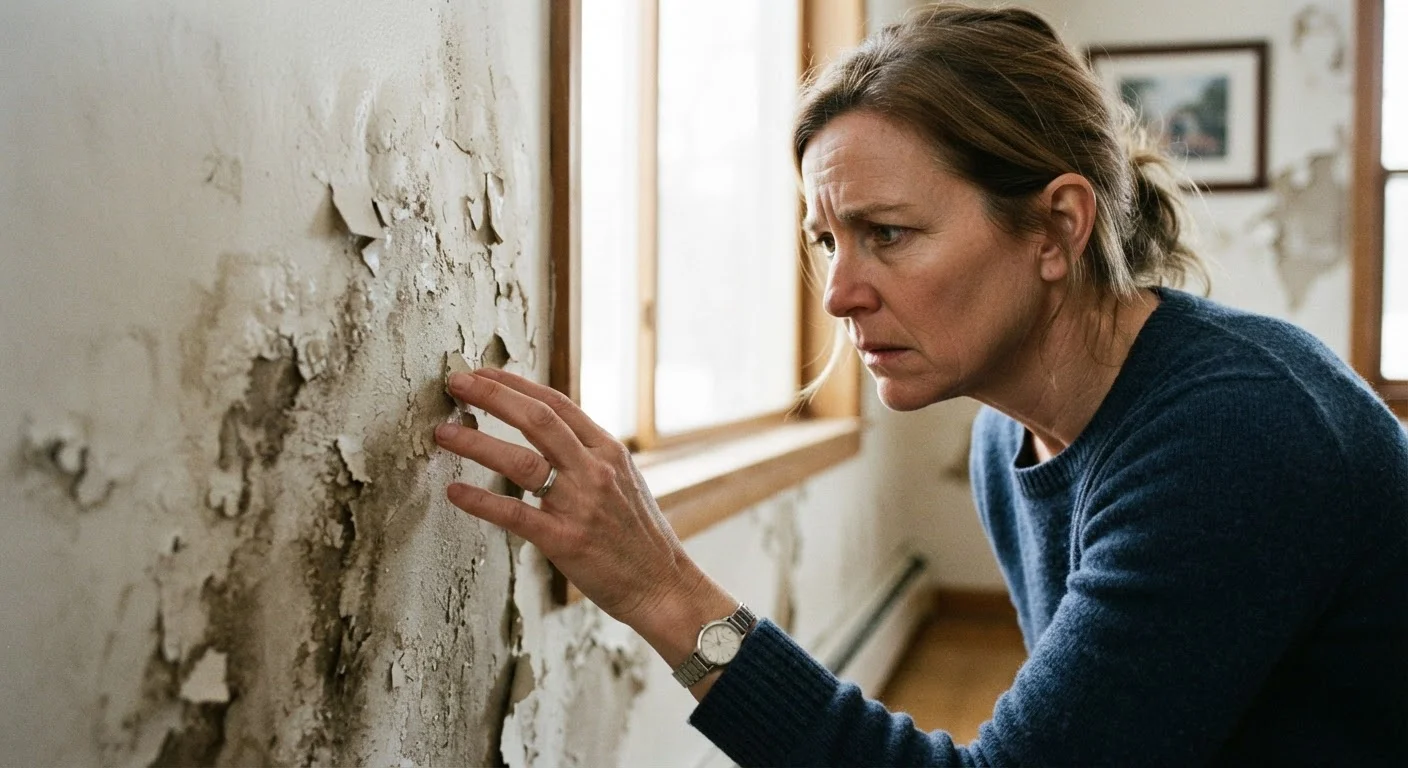
Cracking grout can also allow water into the substrate beneath tile, which leads to mold, rot, and delamination over time. This is why addressing it promptly matters. For more on how overlooking small signs of damage compounds into larger problems, see common home maintenance myths that lead to real damage.
Using the wrong grout type for the joint size or location.
Why it happens: Many homeowners or contractors use whatever grout is available without checking whether it is sanded, unsanded, or epoxy-based, and whether it suits the specific joint width.
Applying grout over a substrate that is not fully cured or is structurally weak.
Why it happens: Rushed timelines lead installers to grout before the mortar bed or adhesive beneath the tile has fully cured, leaving the entire assembly prone to flex.
Skipping movement joints on large tile installations.
Why it happens: Movement joints interrupt the visual continuity of a tile floor, so they are often omitted for aesthetic reasons or because their purpose is not well understood.
Adding too much water when mixing grout.
Why it happens: Excess water makes grout easier to spread and work with, so it is a common shortcut, particularly for first-time installers.
Re-grouting without removing all of the old, damaged grout first.
Why it happens: Scraping out grout is time-consuming, so many people apply new grout directly over the cracked material hoping it will bond.
Grouting over a hollow or debonded tile.
Why it happens: A hollow tile is not always visible to the eye. Without tapping tiles to check for debonding before repair, the underlying problem goes undetected.
Repair approaches that actually hold
Before applying any new grout, probe the cracked area. Press lightly on the tile. If it flexes or sounds hollow when tapped, the tile has debonded from the substrate. Re-grouting over a loose tile will crack again within weeks. The tile must be reset first.
For grout that is cracked but the tile beneath is solid, remove all the damaged grout using an oscillating tool with a grout removal blade or a manual grout saw. Clean the joint thoroughly and let it dry completely, at least 24 hours in a dry environment.
Match the replacement grout to the original joint width. Joints narrower than 1/8 inch need unsanded grout. Wider joints need sanded grout for stability. In wet areas such as showers, consider a urethane or epoxy grout: both resist moisture and minor movement better than standard cement-based products.
Do not use caulk as a substitute for structural repair
Silicone caulk belongs only at movement joints and transitions, not as a filler for cracks caused by a weak substrate or debonded tile. Caulking over a structural problem seals moisture in rather than out, and masks ongoing damage that will worsen over time. Fix the cause first, then seal the joint correctly.
Where a tile installation spans a large continuous surface without any deliberate break, add a movement joint when re-grouting. This means leaving a gap at regular intervals, typically at changes in plane such as floor-to-wall transitions, and filling it with a flexible silicone caulk rather than grout. Caulk compresses and recovers; grout does not.
Mix grout to the consistency specified on the package. Thin mixes shrink more as they cure. Apply in sections, work it fully into the joint, and remove excess before it hardens. Follow the manufacturer's cure time before exposing the surface to water or foot traffic.