
What failed seals actually do to your home
Caulk and weatherstripping do one job: block the boundary between conditioned interior space and uncontrolled exterior conditions. When either material fails, that boundary opens. Air moves freely in both directions, moisture follows pressure and temperature gradients, and the slow work of deterioration begins.
The U.S. Department of Energy has noted that air leaks through gaps around windows, doors, and other penetrations can account for 25 to 40 percent of the energy used for heating and cooling in a typical home. Most of that leakage happens at spots a homeowner could seal in an afternoon. The cost of the materials is a fraction of what a single season of elevated utility bills represents.
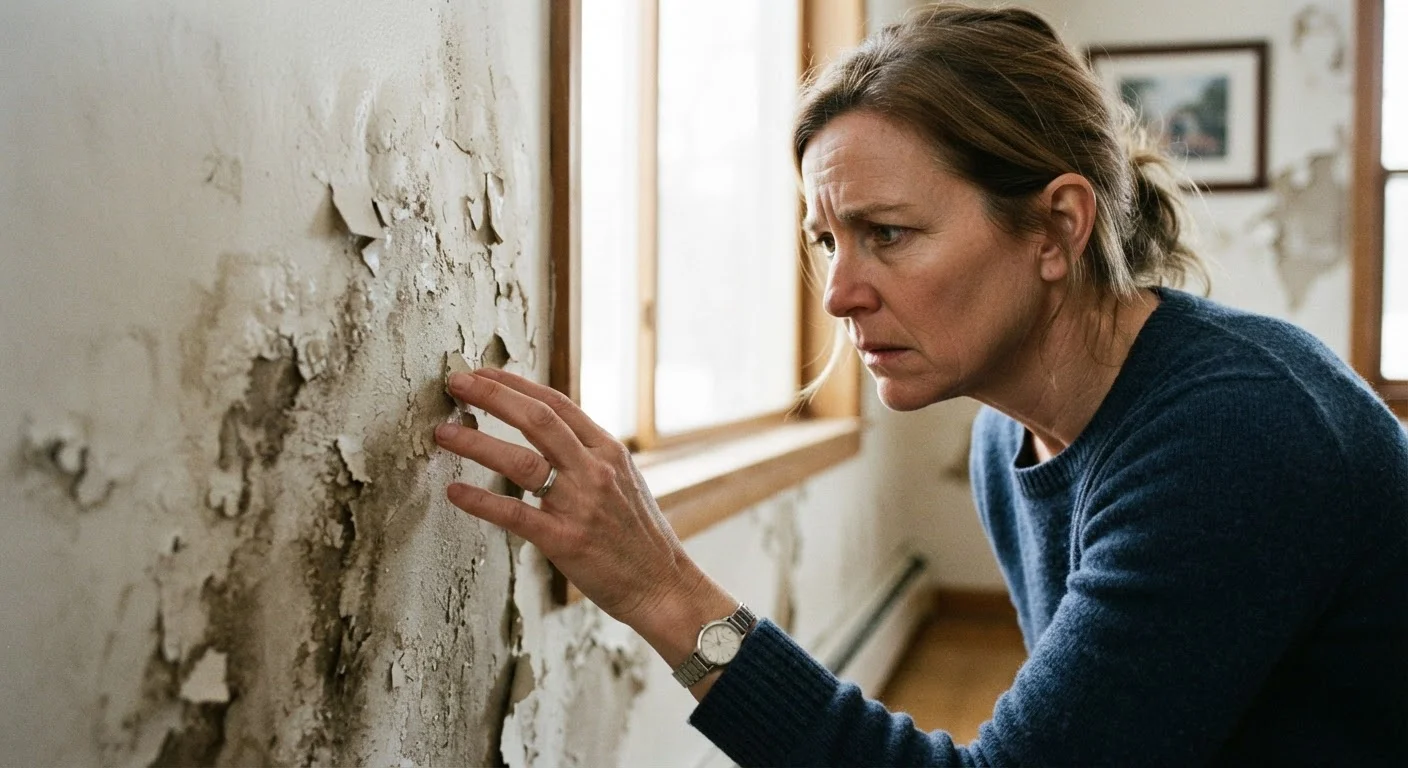
Moisture is the more serious long-term risk. Water that infiltrates a wall assembly through a failed seal does not simply evaporate. It saturates insulation, softens wood framing, and creates the conditions mold needs to establish itself. By the time interior wall surfaces show staining or swelling, the damage behind them is often already significant. See our article on common home maintenance myths for more on how invisible damage accumulates before homeowners notice.
Treating caulk and weatherstripping as one-time installations that never need replacement.
Why it happens: Both materials are applied during construction and rarely come up in routine home inspection checklists. Homeowners assume they last as long as the window or door itself.
Applying new caulk directly over old, cracked caulk without removing the original material first.
Why it happens: Removing old caulk looks tedious, and a fresh bead on top seems like it should work. The result looks repaired but the bond fails quickly because new caulk cannot adhere properly to degraded caulk.
Focusing only on obvious gaps while ignoring trim intersections and pipe or wire penetrations through exterior walls.
Why it happens: Windows and doors get attention because they are visible entry points. Penetrations for electrical conduit, plumbing, dryer vents, and cable lines are easy to overlook and often sealed poorly at installation.
Ignoring door threshold gaps because the door closes and latches without visible problems.
Why it happens: A door that closes smoothly feels like a sealed door. The threshold sweep can be completely worn through while the latch mechanism works fine, and the gap at floor level goes unnoticed until a draft becomes obvious.
Sealing over visible mold or water-stained surfaces rather than addressing the underlying moisture source first.
Why it happens: The impulse is to seal the gap and stop more moisture from entering. But if water has already infiltrated the wall assembly, trapping it accelerates the damage rather than stopping it.
How to inspect and address seal failure
A thorough inspection takes about an hour and requires no special tools. On a windy day, hold a lit incense stick or a thin piece of tissue near door and window perimeters. Movement in the smoke or paper identifies air infiltration. At night, have someone shine a flashlight along exterior seams while you watch from inside for light bleed.
For caulk, look for cracking, shrinkage, gaps where the bead has pulled away from the substrate, or sections that have gone hard and brittle. Silicone and siliconized latex caulks generally hold up better around windows and doors than standard latex, though the right choice depends on the surface material and whether the joint is exposed to standing water.
Weatherstripping fails differently. Compression seals flatten out and no longer fill the gap when a door closes. V-strip seals can separate from the frame or accumulate debris that prevents contact. Door sweeps crack or curl at the edges. Close a door on a piece of paper: if you can pull the paper out without resistance, the seal is not doing its job.
Replacing weatherstripping is straightforward on most standard doors. Peel or unscrew the old material, clean the surface thoroughly, and press or fasten the new strip into place. Caulk replacement involves removing the old bead cleanly (a plastic scraper and isopropyl alcohol help), allowing the surface to dry completely, and applying a new continuous bead without gaps or bridging. Smooth the bead with a wet finger or a caulk tool before it skins over.
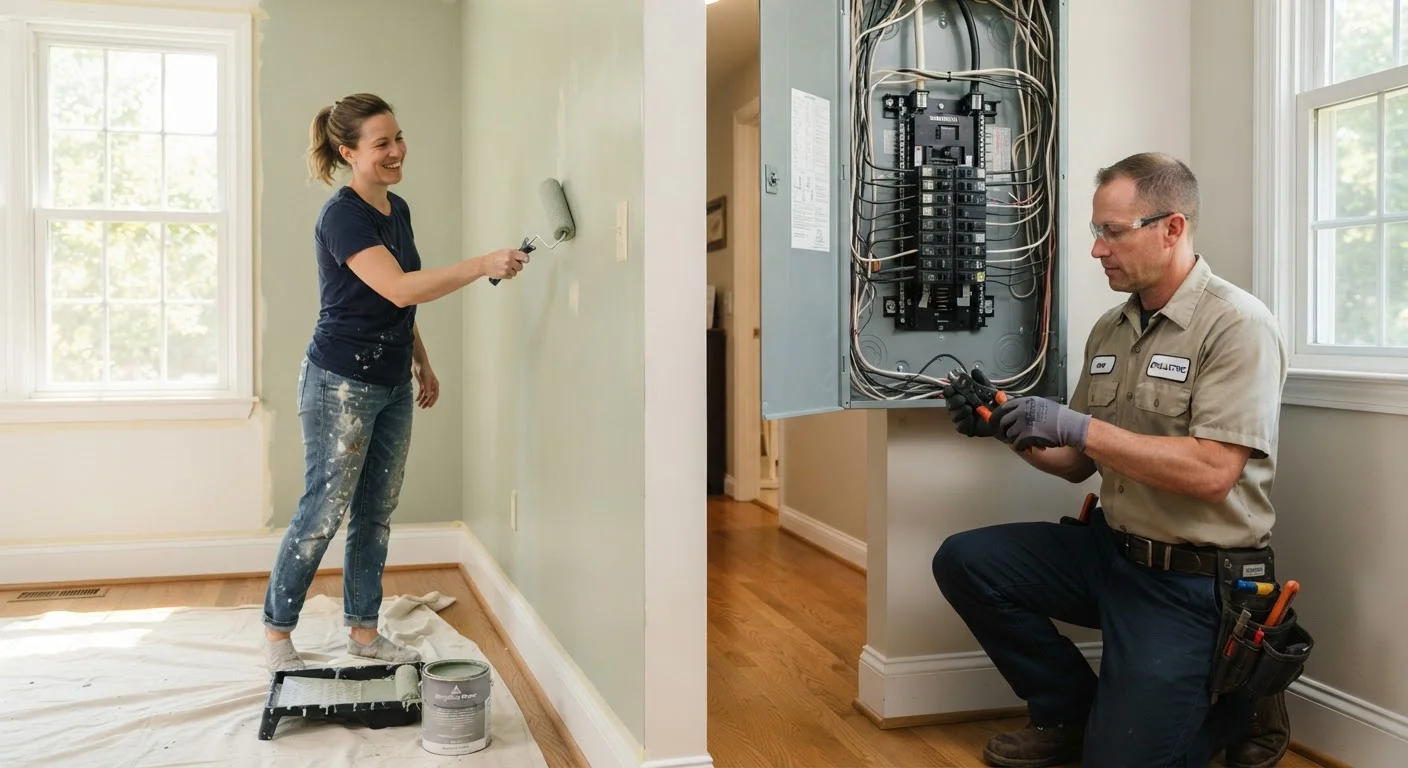
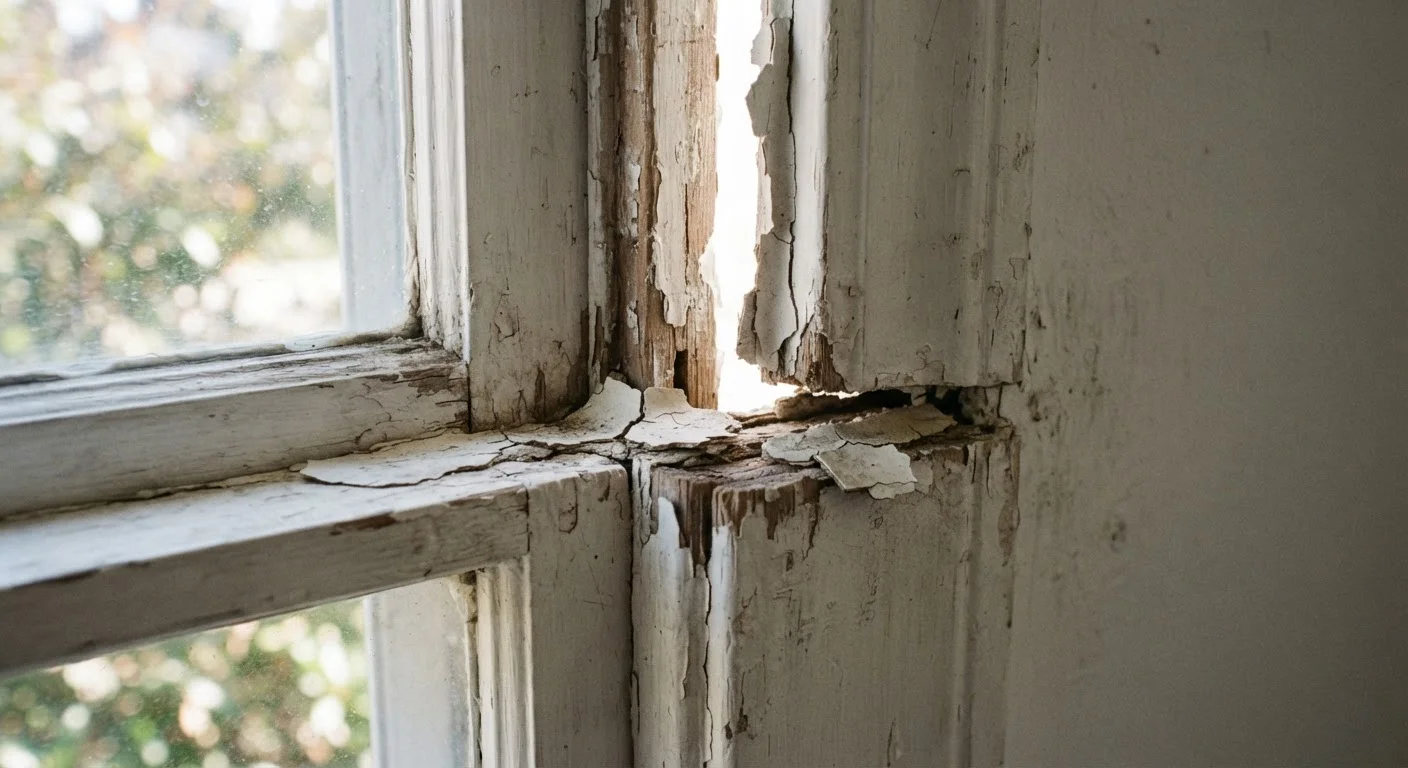
Because these tasks involve no electrical, gas, structural, or plumbing work, most homeowners can complete them safely. If you notice wood that is soft, discolored, or crumbling near the seal area, that framing damage warrants a professional assessment before you apply new sealant over it. Sealing over compromised wood traps moisture rather than excluding it. Maintaining these seals fits naturally into a broader seasonal routine: your HVAC system benefits from the same attention to air and moisture control that good window and door seals provide.