
How air moves through your system
Your HVAC system is built around one continuous loop. A blower fan pulls air from inside your home through return vents, passes it through a filter, moves it across a coil that either heats or cools it, and then pushes it back into the living space through supply vents. Every component in that loop depends on the others working correctly.
When something interrupts that loop, whether a clogged filter, dirty coil, or blocked vent, the system compensates by running longer cycles. Longer cycles mean more wear on the blower motor, compressor, and heat exchanger. Understanding the loop helps explain why a simple filter change is worth doing on schedule. See the seasonal maintenance calendar for a month-by-month prompt to stay on top of it.
Filters: what they do and how to choose one
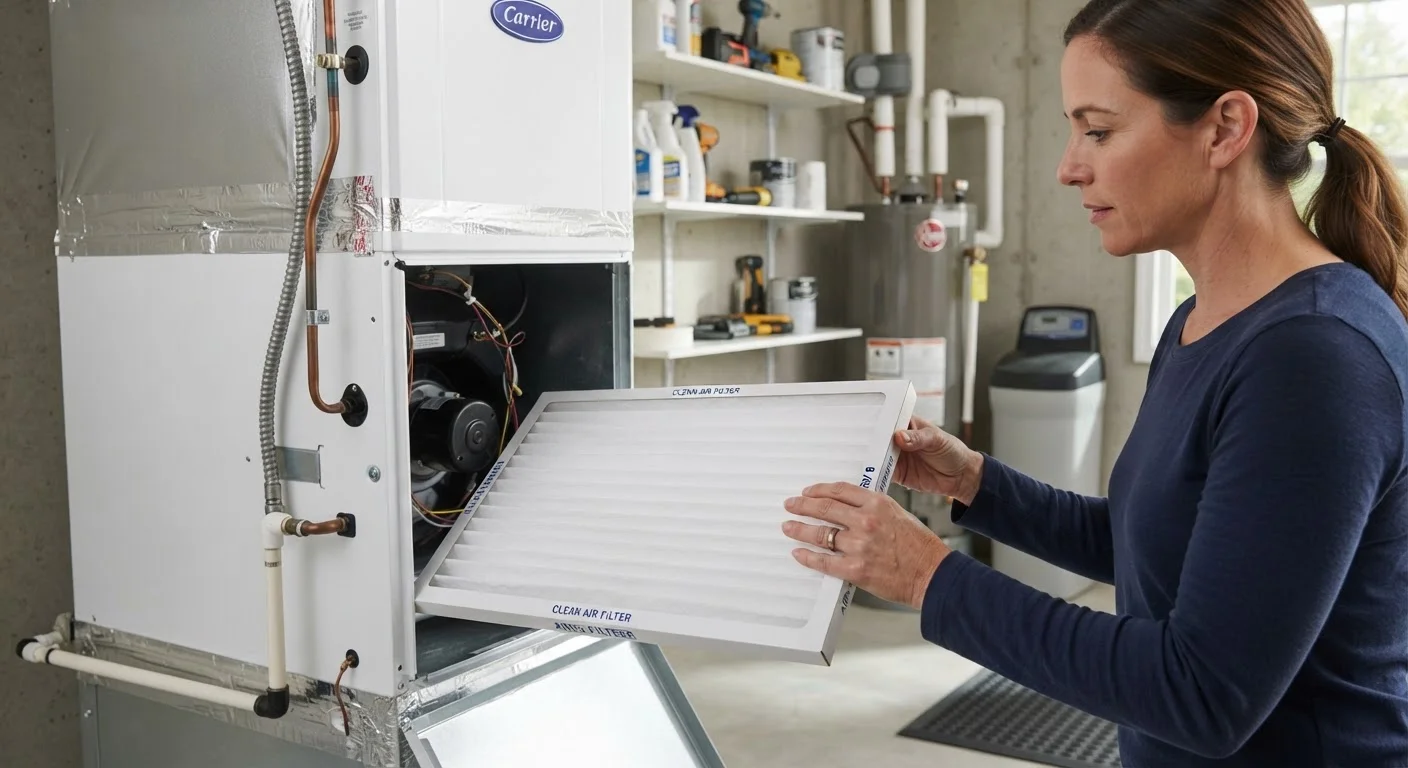
The air filter sits at the return air inlet and catches dust, pollen, pet dander, and other particles before they reach the blower and coils. A clean filter protects equipment; a clogged one restricts the airflow the system needs to function.
Filters carry a MERV (Minimum Efficiency Reporting Value) rating. Standard fiberglass filters rate around MERV 1 to 4 and block large debris but little else. Pleated filters in the MERV 8 to 11 range remove finer particles and suit most households without straining airflow. Filters rated MERV 13 and above capture very small particles but can restrict flow in systems not engineered for them. Check your equipment documentation before upgrading.
Replace a 1-inch filter every 30 to 90 days. Households with pets or allergy sufferers typically land at the shorter end of that range. A quick visual check each month takes less than a minute: if the filter looks uniformly grey, change it.
Mark the filter change date
Write the installation date on the edge of the filter with a marker when you put it in. This removes any guesswork next time you check it. If you have multiple systems in the house, note the filter size on the same label so you can order the right replacement without measuring again.
Coils: the heat transfer core
Two coils do the actual work of heating and cooling. The evaporator coil sits inside the air handler, where refrigerant absorbs heat from passing air during cooling mode. The condenser coil sits in the outdoor unit and releases that heat outside. In a heat pump system, the process reverses in winter to extract heat from outdoor air and bring it indoors.
Both coils need clean surfaces to transfer heat efficiently. Dirt acts as insulation. A lightly fouled evaporator coil forces the compressor to work harder to achieve the same cooling effect, and a dirty condenser coil raises the refrigerant pressure in the system. Either condition shortens equipment life and increases energy use.
The condenser coil is more accessible: you can rinse it gently with a garden hose (with the unit powered off at the disconnect switch) to remove grass clippings and debris. Evaporator coil cleaning and any refrigerant-related work require a licensed HVAC technician. Refrigerant handling is federally regulated under EPA Section 608 rules, and improper work carries real risk of injury and legal liability.
Airflow problems and how to spot them
Restricted airflow shows up in several ways before it causes visible damage. Weak flow from supply vents, rooms that cannot reach the thermostat setpoint, ice forming on the indoor unit, or an unusually high energy bill are all signals worth investigating.
Start with the filter. If replacing it does not resolve the symptoms, check that all supply and return vents in the home are open and unblocked by furniture or rugs. A return vent that is partially covered reduces the volume of air the system can draw in, which has the same effect as a dirty filter.
Leaky duct connections can also bleed conditioned air into attics or crawlspaces before it reaches living areas. Visible gaps or disconnected sections in accessible ductwork are worth sealing with UL 181-rated foil tape or mastic sealant. For extensive duct systems, a contractor can perform a duct blaster test to measure leakage precisely. Common maintenance myths often obscure how much conditioned air leaks through poorly sealed duct joints.
What to handle yourself versus when to call a technician
Filter replacement is a clear DIY task. So is keeping the area around the outdoor unit clear of vegetation and debris, rinsing the condenser coil fins with low-pressure water, and making sure vents are unobstructed. These tasks cost nothing beyond the price of a filter and a few minutes of attention.
Anything involving electrical components, refrigerant, the blower motor, or internal coil access warrants a licensed technician. The same applies if you hear unusual noises from the air handler or outdoor unit, smell burning near any component, or notice the system short-cycling (turning on and off in rapid succession). Permits and licensed work requirements vary by state and municipality, so verify local rules before attempting any work beyond routine maintenance.
Scheduling a professional tune-up twice a year, once in spring and once in fall, gives a technician the chance to catch issues like low refrigerant charge, cracked heat exchanger sections, or failing capacitors before they become breakdowns. A cracked heat exchanger, for example, can allow combustion gases to mix with conditioned air and is a safety concern that should never be deferred. For a broader view of how routine attention prevents costly failures, see plumbing upkeep guidance and how the same principle applies across home systems.