
Why preparation determines the outcome
A paint job fails at the prep stage far more often than at the application stage. Paint is a thin film, and it faithfully reveals whatever lies beneath it: grease, dust, uneven patches, and old cracks all telegraph through even a quality topcoat. Understanding why each prep step matters helps you move through the process with purpose rather than treating it as a chore before the "real" work begins.
Adhesion is the central concern. Paint bonds to a surface through mechanical grip and chemical compatibility. A dirty, glossy, or powdery wall gives paint almost nothing to hold onto. That is why cleaning, scuffing glossy finishes, and priming porous or repaired areas are each non-negotiable in their respective situations.
If you are managing this as part of a larger renovation, see the room-by-room readiness checklist for a broader look at what to sort out before work begins in any space.
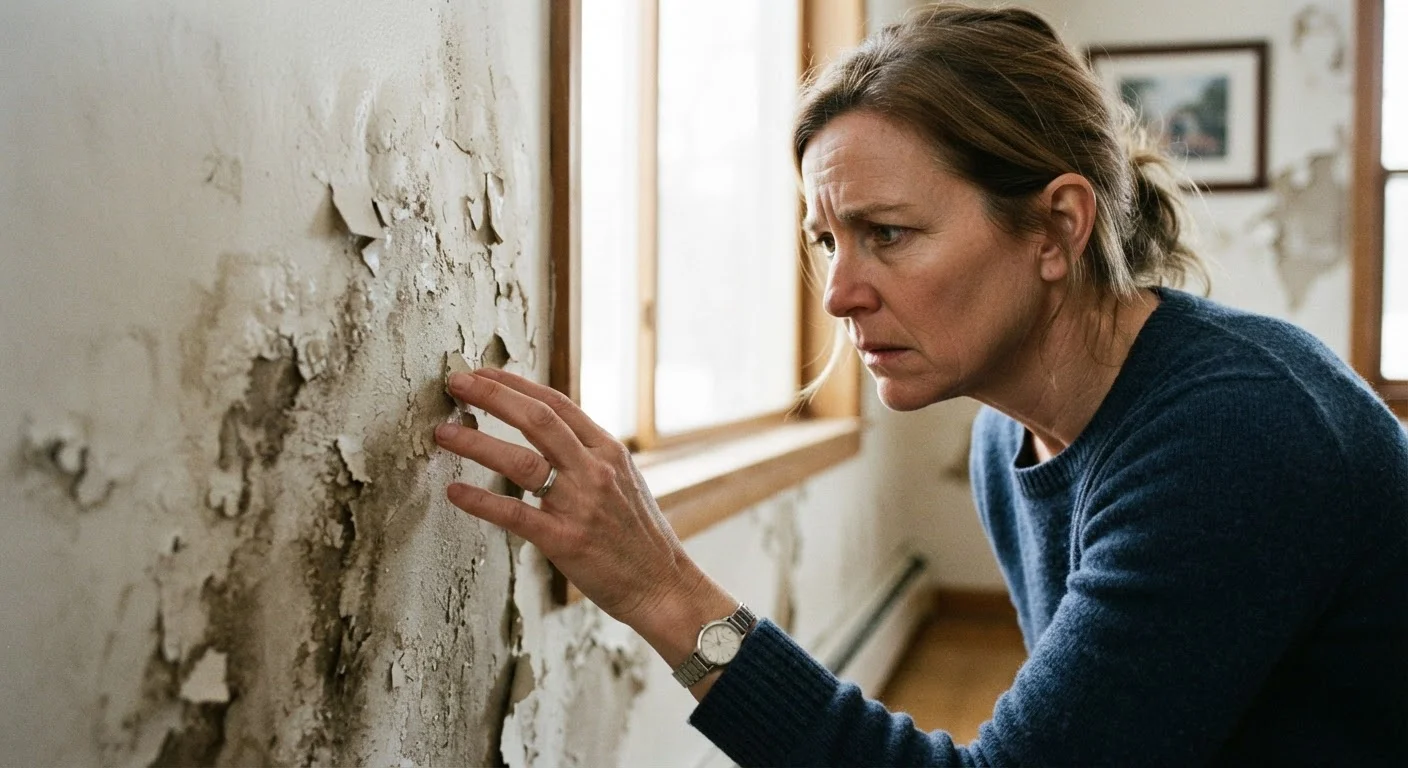
Do not paint over moisture or mold
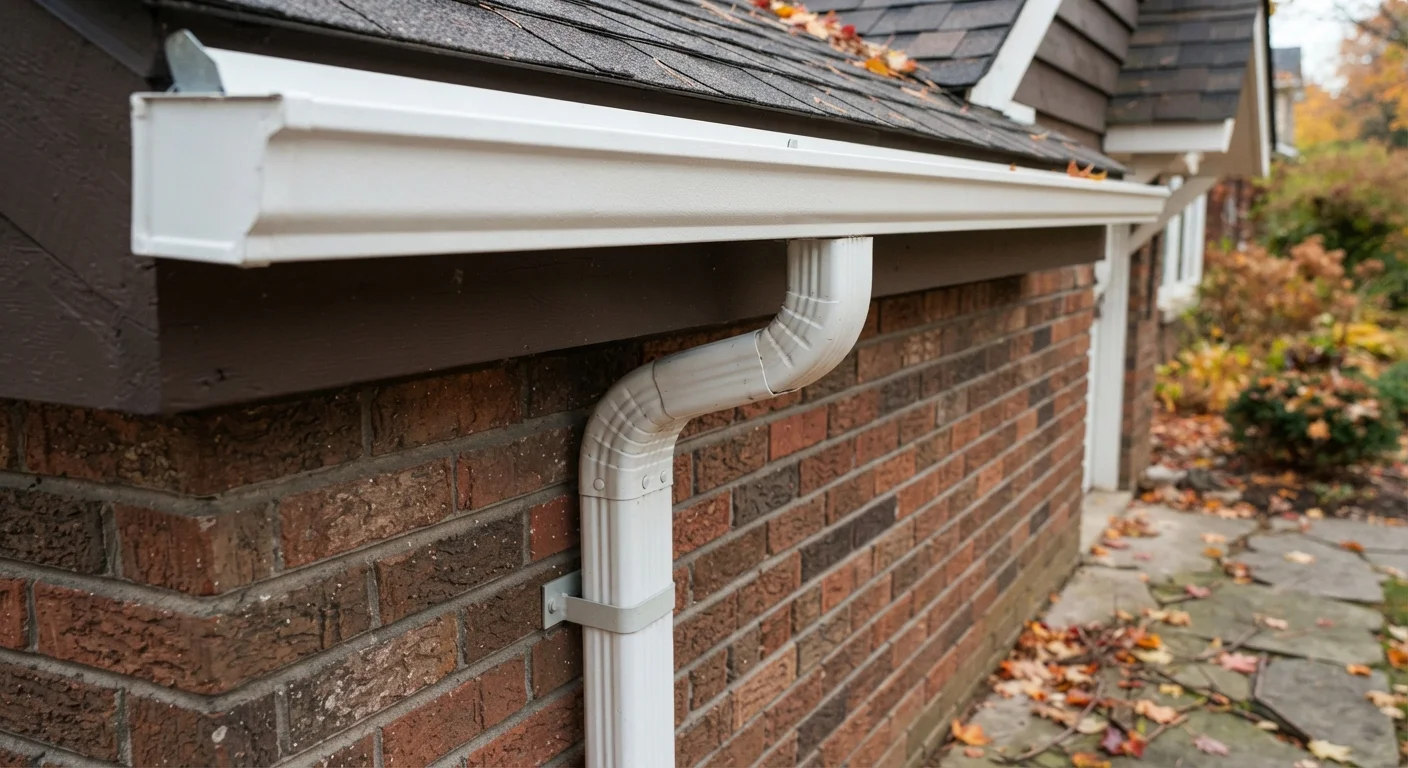
Paint applied over damp walls or active mold will peel quickly and can trap moisture, worsening the problem. If you see staining, bubbling, or fuzzy growth, identify and fix the water source before any surface prep begins. Mold remediation in affected areas may require professional assessment depending on the extent of the damage.
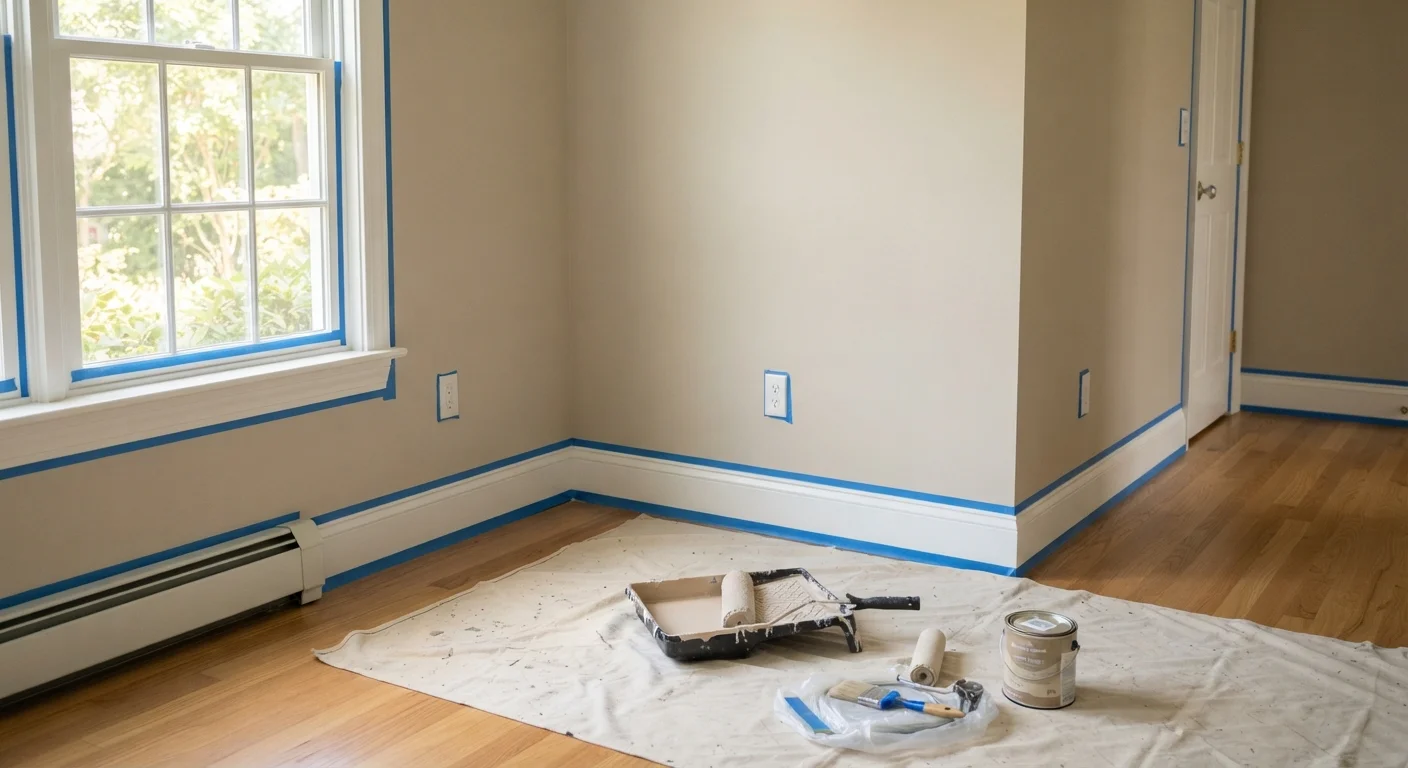
Here is a look at the tools and materials you will need before starting:
Putty knife and spackling compound
Fill nail holes, small dents, and hairline cracks in drywall before priming.
Fine-grit sandpaper (120 to 150 grit)
Smooth patched areas and scuff glossy surfaces so primer and paint bond properly.
Tack cloth or damp microfiber cloth
Remove sanding dust from walls before applying primer or paint.
Painter's tape
Mask trim, outlets, switch plates, and ceiling edges for clean lines.
Interior primer
Seal bare drywall, repaired patches, and stained surfaces so topcoats apply evenly.
Angled sash brush (2 to 2.5 inch)
Cut in paint along edges, corners, and trim where a roller cannot reach.
9-inch roller with appropriate nap
Apply paint efficiently across flat wall surfaces; nap thickness varies by surface texture.
Drop cloths
Protect floors and furniture from drips and spills during prep and painting.
Step-by-step: surface prep, primer, and painting
Work through these steps in order. Skipping ahead or combining steps to save time tends to produce results that require redoing within a year or two.
What you will need
Clean all wall surfaces thoroughly
Grease, soap film, and dust prevent paint from adhering. Wash walls with a solution of mild dish soap and warm water, working from the bottom up to avoid streaking. Pay close attention to areas near light switches, door handles, and the kitchen, where oils accumulate. Rinse with clean water and let the walls dry completely before moving on, at least several hours in a well-ventilated room.
Repair holes, cracks, and damaged areas
Press spackling compound into nail holes and small dents with a putty knife, slightly overfilling each spot. For cracks wider than a hairline, use a flexible patching compound or mesh tape with joint compound for a more durable repair. Let repairs dry fully according to the product instructions. Then sand smooth with 120- to 150-grit sandpaper until the patch is flush with the surrounding wall. Feather the edges outward so there is no abrupt ridge.
Sand glossy surfaces and remove dust
If the existing paint has a satin, semi-gloss, or gloss finish, lightly scuff the entire surface with fine-grit sandpaper or a sanding sponge. This gives the new coat something to grip. After sanding patched areas or any wall section, wipe down with a tack cloth or a damp microfiber cloth to remove all dust. Any particles left on the surface will show through the finish coat as bumps.
Apply primer where needed
Primer is required on bare or newly patched drywall, on stained surfaces, and when making a significant color change from dark to light. Spot-prime small repairs if the rest of the wall already has a sound paint coat; full-wall priming is warranted when painting an entire room or when stains are widespread. Apply primer with the same cut-in-then-roll method you will use for paint. Let it dry completely before topcoating, and lightly sand any raised grain or brush marks once dry.
Tape off trim, outlets, and edges
Press painter's tape firmly along baseboards, door and window trim, ceiling lines, and outlet covers. Run a putty knife or credit card along the tape edge to seal it flat and prevent paint from bleeding underneath. Remove outlet and switch covers entirely if possible, taping over the electrical box opening. Label and store hardware in a plastic bag so nothing gets lost during the project.
Cut in along edges and corners
Load an angled sash brush and paint a 2- to 3-inch band along all ceiling lines, corners, and trim edges. Work one wall at a time so this cut-in layer is still wet when you roll the field. Keeping the cut-in wet prevents a visible seam where brush work meets roller work. Use smooth, controlled strokes and do not overload the brush; excess paint drips and builds up at edges.
Roll the walls in two thin coats
Choose a roller nap suited to your wall texture: 3/8-inch nap for smooth walls, 1/2-inch for light texture, and 3/4-inch for heavier texture. Load the roller evenly, remove excess on the tray ramp, and apply paint in overlapping passes. Work in manageable sections and maintain a wet edge by moving quickly enough that you are always rolling into paint that has not yet dried. Once the first coat is fully dry (check the product label), apply a second coat in the opposite direction. Two coats provide better color depth and durability than one heavy coat.
Roll in a consistent W pattern
Load the roller, then apply paint in a rough W or M shape across about a 3-foot section of wall before filling it in with parallel strokes. This distributes paint more evenly than rolling straight up and down from the start, and it reduces the chance of heavy buildup at the edges of each pass.
Once all coats are dry, remove painter's tape by pulling it back at a 45-degree angle away from the painted surface. Touch up any bleed spots with a small brush. Reattach outlet covers and switch plates, and move furniture back only after the paint has cured. Most latex paints reach full hardness in 30 days, even if they feel dry to the touch much sooner. Avoid scrubbing or hanging anything on walls during that curing window.
Choosing the right finish for each room
Paint sheen affects both appearance and durability. Flat or matte finishes hide surface imperfections well and work for low-traffic spaces like adult bedrooms. Eggshell and satin finishes are more washable and hold up in living rooms, hallways, and children's rooms. Semi-gloss is standard for trim, doors, and bathrooms because it resists moisture and cleans easily.
Ceiling paint is formulated with a flat finish and higher viscosity to reduce dripping. Using wall paint on ceilings is possible but less practical. If you are uncertain about sheen levels, most paint departments have sample cards that show how each finish looks under different lighting conditions.
For homeowners planning a broader improvement effort, the guide to planning your first home improvement project covers how to sequence work and manage costs across multiple tasks.
Test for lead paint before sanding
Homes built before 1978 may have lead-based paint on walls and trim. Sanding or scraping lead paint creates hazardous dust. Use an inexpensive test kit available at hardware stores before you begin, and if results are positive, contact a certified lead abatement professional rather than proceeding with DIY prep.