
Define the scope before anything else
The most common mistake first-time project owners make is starting with a contractor search before they know exactly what they want built. Without a clear scope, you cannot compare quotes accurately, and the project tends to grow in ways your budget cannot absorb.
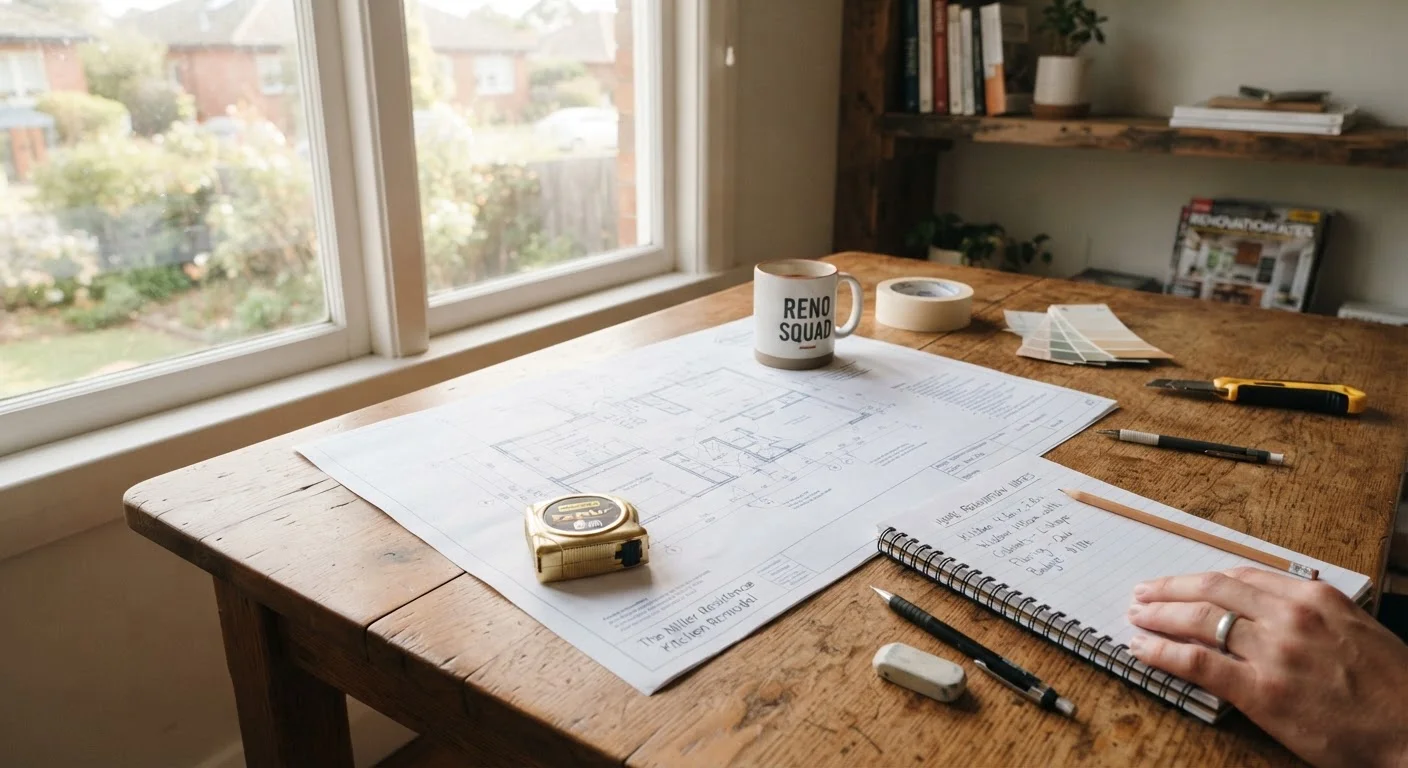
Write a scope statement: a plain description of the work to be done, the materials you expect to use, and what is not included. For a bathroom update, that might mean: replace the vanity, retile the floor, and repaint the walls, but leave the tub and toilet in place. That single document becomes the anchor for every conversation that follows.
Use our room-by-room readiness checklist to catch overlooked details before you commit to a plan.
Scope statement
A written description of exactly what work will be done, what materials will be used, and what is excluded from the project. It prevents misunderstandings between you and anyone doing the work.
Contingency fund
A reserved amount of money, typically 10 to 20 percent of the project budget, set aside to cover unexpected costs such as hidden damage or material price changes.
Building permit
Official authorization from your local government to carry out specific construction or renovation work. It ensures the work is inspected and meets local safety codes.
Change order
A written document that records any agreed modification to the original project scope or price after the contract has been signed. Both parties should sign it before the changed work begins.
General liability insurance
Coverage a contractor carries that pays for damage to your property or injuries to others that occur as a result of their work. Always confirm a contractor has this before they start.
Certificate of occupancy
A document issued by the local building authority confirming that a completed project or addition meets code and is safe to occupy. Required for some larger projects before the space can be used.
Set a realistic budget
Once you know what you want done, price it out before approaching any contractor. Research typical cost ranges for your region using publicly available sources such as your local home improvement center's project estimator or published data from trade associations. These numbers give you a baseline, not a guarantee.
Add a contingency of 10 to 20 percent on top of your baseline. Hidden water damage, outdated wiring behind a wall, or a supply chain delay can add costs that were impossible to anticipate. A contingency fund absorbs those surprises without derailing the project.
If you have not already built a household budget that can accommodate a large one-time expense, the six-step monthly budget guide is a good place to start before you commit any funds.
Understand permits and when you need them
A permit is official authorization from your local building department to proceed with specific work. Once the job is done, an inspector signs off, confirming the work meets current building codes. That record matters when you sell the home or file an insurance claim.
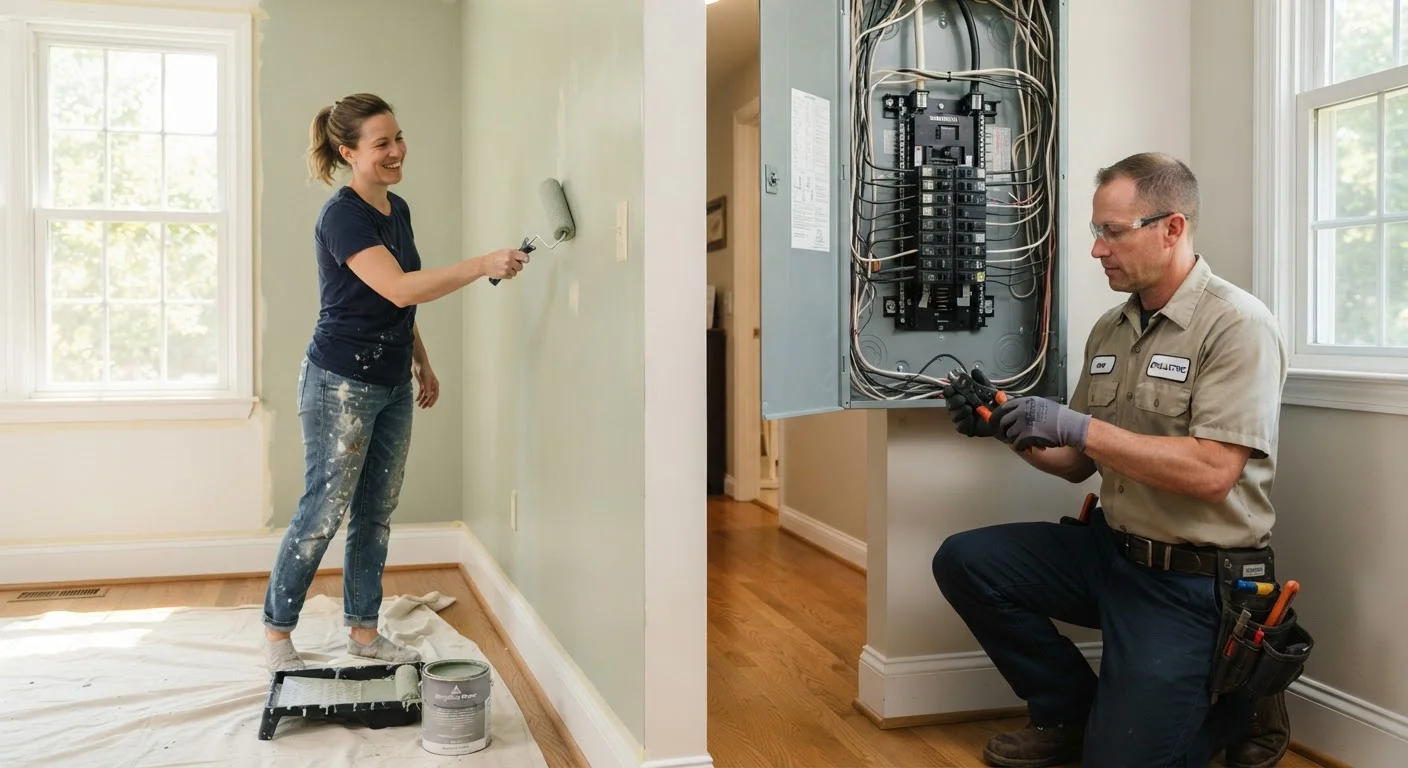
Work that typically requires a permit in most U.S. jurisdictions includes structural modifications, additions to the home's footprint, electrical panel work, new plumbing connections to the main supply, HVAC replacements, and roofing on a full replacement. Cosmetic work, such as painting, flooring installation on an existing subfloor, or cabinet replacement, usually does not.
Because rules vary by municipality, always confirm with your local building department before starting. Our companion article on home renovation permits explains what permits cover and the consequences of skipping one.
Call your building department first
Before you finalize your scope or hire anyone, call your local building department and describe the work in plain terms. The staff can tell you whether a permit is required, what the application process looks like, and roughly how long inspections take. This one call can prevent expensive do-overs later.
Decide what to DIY and what to hand off
Honest self-assessment here saves money and prevents safety hazards. A homeowner who is comfortable with tools can take on painting, flooring, basic landscaping, fixture swaps on existing circuits, and non-structural demolition. These tasks carry manageable risk and do not require a license in most states.
Electrical work beyond replacing a switch or outlet, any task involving gas lines, load-bearing wall modifications, and plumbing connected to the main supply all belong with a licensed professional. The risk of injury, code violation, or insurance complications is too high to treat these as weekend projects.
When hiring a contractor, get at least three written quotes, verify their license with your state licensing board, and confirm they carry general liability insurance and workers' compensation. Ask for references from comparable projects and follow up on them. For a detailed breakdown by room type, see our guide on what to DIY and what needs a pro in bathroom remodels.
Manage the project once work begins
A signed contract is the foundation of a well-managed project. It should include the scope of work, materials list, payment schedule tied to milestones (not calendar dates), start and estimated completion dates, and a process for change orders. Never pay the full amount upfront; a typical structure is a deposit, a midpoint payment, and a final payment after satisfactory completion.
Communicate in writing. If your contractor proposes a change, ask for a written change order with the revised cost before approving anything. Keep a project log: a simple dated notebook or document tracking decisions, payments, and any issues that came up. That log is invaluable if a dispute arises later.
Visit the site regularly and ask questions when something looks different from what you expected. Catching a misunderstanding early is far cheaper than correcting it after the fact.
Close out the project properly
Before you make the final payment, do a thorough walkthrough with your contractor. Bring your original scope statement and check every line item. Note anything incomplete or not meeting the agreed standard in writing, and tie the final payment to resolution of those items.
Collect every document the project produced: permits with inspector sign-off, manufacturer warranties for materials and appliances, receipts, and a copy of the signed contract and all change orders. File these somewhere accessible because you will need them at resale.
Contact your homeowner's insurance provider to report any changes that affect the home's replacement value. An addition, a finished basement, or a new roof changes the coverage you need. Skipping this step can leave you underinsured.
For ongoing upkeep after the project is done, the home maintenance hub has seasonal checklists to keep your investment in good shape.