
Why room-by-room readiness matters
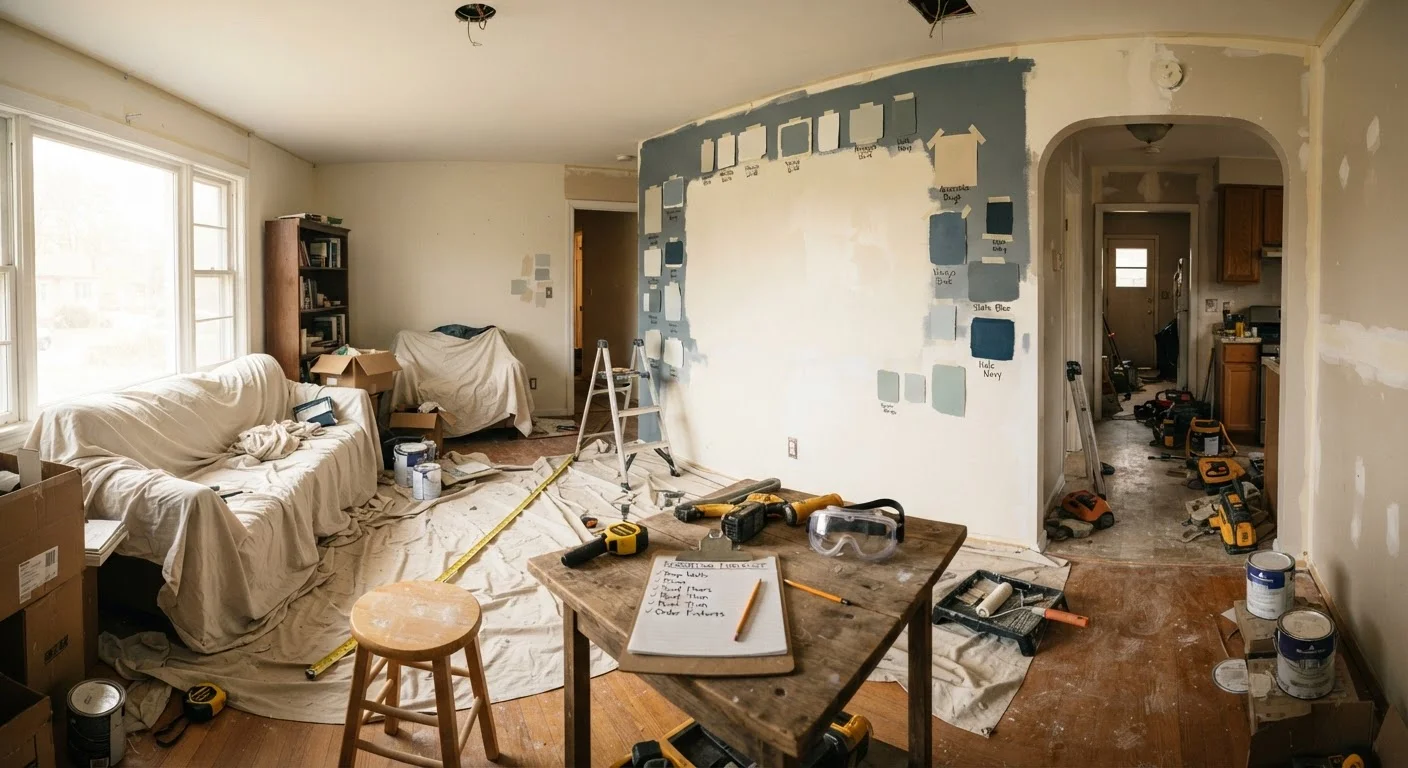
Most renovation delays do not start on demolition day. They start two weeks earlier, when someone realizes the permit application was never filed, the water shutoff valve is inaccessible, or the tile order is three weeks out. This checklist gives you a structured way to catch those gaps before they cost you time and money.
The checklist is organized into two layers. The first covers preparation steps that apply to every room in the house. The second breaks down room-specific concerns for kitchens, bathrooms, living spaces, and bedrooms. Work through the universal section first, then run the relevant room check for each space you plan to touch.
For a broader look at managing the full arc of a project, see planning your first home improvement project. If permits are new territory for you, our guide to home renovation permits explains exactly what they cover and when you need them.
Universal pre-renovation steps
These items apply regardless of which room you are renovating. Complete them before any work begins.
Permits and compliance
Utility and safety preparation
Access and staging
Materials and scheduling
Household and occupant logistics
A note on hazardous materials: homes built before 1978 may contain lead paint, and homes with certain insulation or floor tiles from before 1980 may contain asbestos. Both require professional testing and abatement before disturbance. Do not sand, cut, or demolish these materials without clearance from a licensed professional.
Do not disturb suspected hazardous materials
Sanding, cutting, or demolishing materials that contain lead or asbestos releases particles that are hazardous to health. If your home was built before 1980, have a certified inspector test suspect materials before any disturbance. Federal and state regulations govern how these materials must be handled and disposed of, and violations carry serious penalties.
Tools and resources you will need
Having the right materials on hand before the crew arrives prevents work stoppages. The list below covers what most homeowners need to run through this readiness checklist and prepare a room for renovation.
Digital measuring tape or laser measure
Accurately measure room dimensions to verify material quantities before ordering.
Circuit tester or non-contact voltage tester
Confirm circuits are de-energized before any work near electrical components.
Lead paint test kit
Provides an initial screen for lead paint in homes built before 1978, prior to professional assessment.
Utility marker flags or tape
Mark locations of shutoff valves, clean-outs, and access panels so crew members can find them quickly.
Project management app or printed tracking sheet
Track permit status, delivery dates, subcontractor schedules, and inspection appointments in one place.
Camera or smartphone
Document existing conditions in each room before demolition begins for insurance and contractor reference.
Room-specific considerations
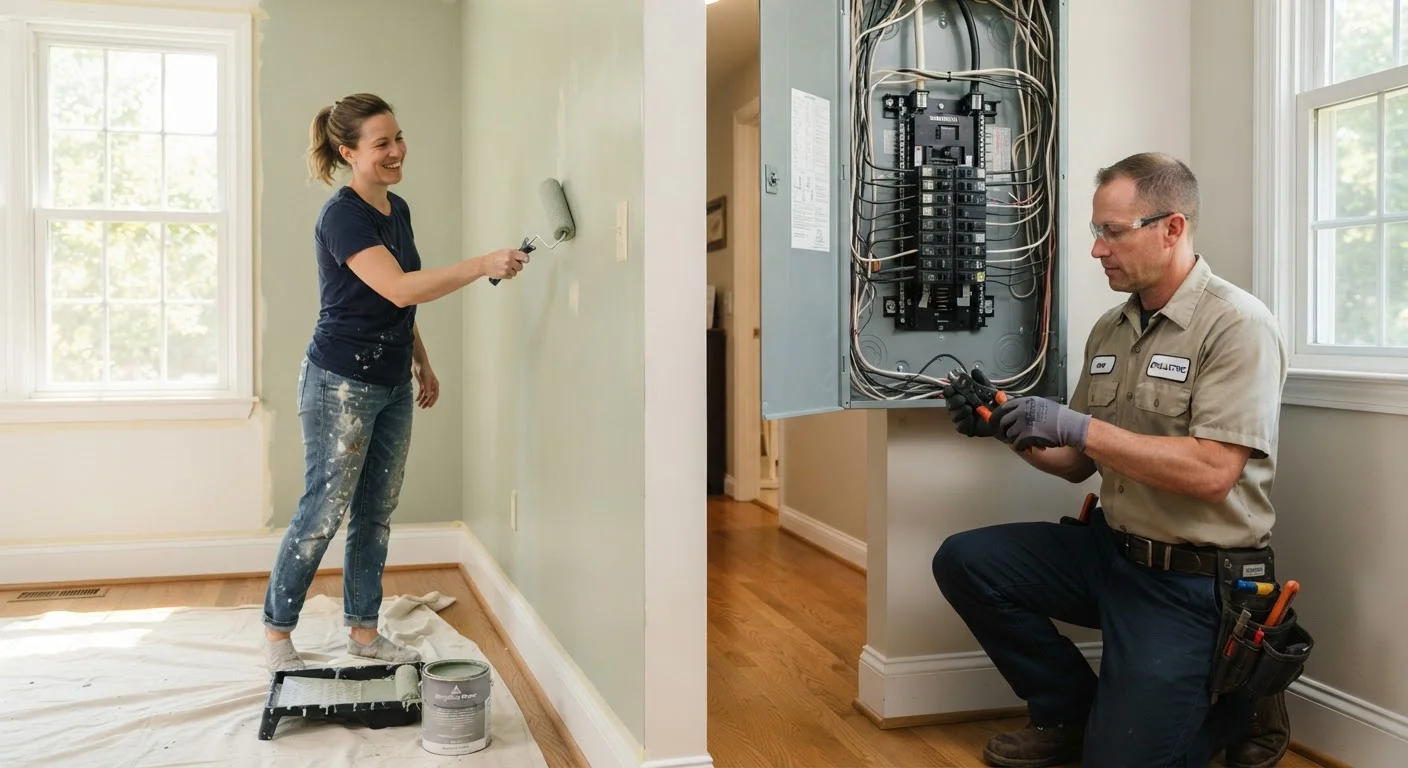
Kitchen: Confirm the range, dishwasher, and refrigerator can be disconnected safely and that temporary food storage is arranged. Verify that any electrical panel upgrades required for new appliances are permitted and scheduled ahead of cabinet installation.
Bathroom: Identify the individual shutoffs for the toilet, sink, and shower or tub, not just the main water supply. Check whether floor-to-ceiling tile work requires a moisture barrier and whether your local code requires a licensed plumber for drain relocations. For a detailed breakdown of what is and is not safe to DIY, see bathroom remodels: what you can DIY and what needs a pro.
Bathroom drain relocations require permits
Moving a drain even a few inches typically requires opening the subfloor and altering the drain slope, which is regulated work in most jurisdictions. Performing this without a permit can void your homeowner's insurance coverage for related damage and create disclosure obligations when you sell the home. Always verify local code requirements with your building department before a plumber starts.
Living spaces and bedrooms: These rooms carry fewer utility risks but often have the most furniture to protect or relocate. Confirm that flooring deliveries account for a 10 percent overage for cuts and waste. If you are opening a wall, have a licensed electrician confirm there are no live circuits or identify them before any cutting begins.
General home maintenance guidance can help you set baseline standards for each room before renovation work begins. If your project involves significant spending, reviewing how your emergency fund is positioned before committing to a scope can prevent financial strain mid-project.